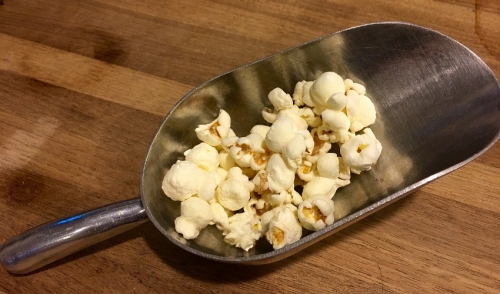
How to Use a Popcorn Popper
At your next big get-together, block party, birthday bash, or fundraising function make sure that you rent a popcorn popper! To create your own "party effect" by popping 4-5 batches in a row to fill the popcorn window and step back to watch your guests line up!
Please read the following important information carefully before use:
Extension Cords
Extension cords should not be used. You should have a properly sized outlet right at the machine. Fires can result from a light duty extension cord that overheats due to overload. You need a No. 12 wire for these machines, and extension cords of this heavy-duty are usually available at your rental center. If you go over 25-feet from the outlet, a No.10 wire would be required. The extension must have a ground wire, properly connected, or you lose the safety features built into this machine.
Controls
There are three switches on the popper.
- Light and Warmer Switch - Turns on the heat lamp and optional strip heater under corn pan.
- Kettle Motor Switch - Turns on motor which drives kettle agitator shaft.
- Kettle Heat Switch - Turns on heat elements inside kettle.
Caution: The motor air intake and exhaust holes must be clear of an obstruction. Do not cover air vent holes as serious damage may result and to avoid serious burns, do not touch kettle while it is hot.
To Start Popping:
- Turn "Kettle Heat" switch and "Kettle Motor & Exhaust" switch ON.
- "Test Pop" a kettle of corn. (Place one fourth (1/4) of the proper oil measure in the kettle along with three kernels of unpopped corn.As soon as the three kernels pop, place the balance of the oil, plus the measured amount of corn and "Flavacol" (if needed) in the kettle. Close the lid.)
- After the corn has finished popping, rotate the handle to dump the popcorn still in the kettle. Return the kettle to the upright position.
- Repeat the cycle starting with step 2, but you can eliminate the three kernel test pop step and put a full charge of ingredients in at the same time to pop another kettle of corn. Note: Always pop 4 to 5 batches of corn in a row. The quality and flavor are both better on batches 2, 3, 4, and 5 than on the initial batch.
- On the final kettle of corn, it is a good idea to turn the "Kettle Heat" switch off, just as the lids are forced open by the popping corn. This saves on electricity, since there is plenty of heat in the kettle, and also helps eliminate smoke and odor after you have finished popping.
When you are finished popping, make sure "Kettle Heat" and "Kettle Motor & Exhaust" switches are turned to "Off". Never leave the heat on when you are not popping. If you place oil in a hot kettle, remember to finish that popping cycle, or turn off the kettle. Exposure to heat starts to break down color and flavor of popcorn oils.
Always wipe the complete exterior of your kettle with a heavy cloth immediately after you finish popping and the kettle has cooled. Oil drippings will come off quite easily at this time, but will burn on and stain if not removed. - Turn all switches to "Off" at the close of your operations.
Cleaning Instructions
After you finish popping for the day, or your event, let the kettle cool until it is not to hot to handle, but still warm. Unplug the kettle and remove it from the machine. With a cloth, wipe out the inside of the kettle, the kettle lids, kettle crossbar, outside of the kettle and underneath. Do not dunk the kettle in water!
For fresh corn tomorrow: Always remove all the popped popcorn and pack it into clean plastic bags. Tie this tightly with a twister and you can enjoy fresh popcorn again tomorrow. Make sure the machine is sparkling clean when you return it. Don't forget to remove the old maid pan and empty out the unpopped kernels and wipe it clean.
If any problems occur during use please call your rental center. Remember that you are renting this equipment. Be sure to understand your rental contract and be familiar with all charges for any damage or additional cleaning.
Comments